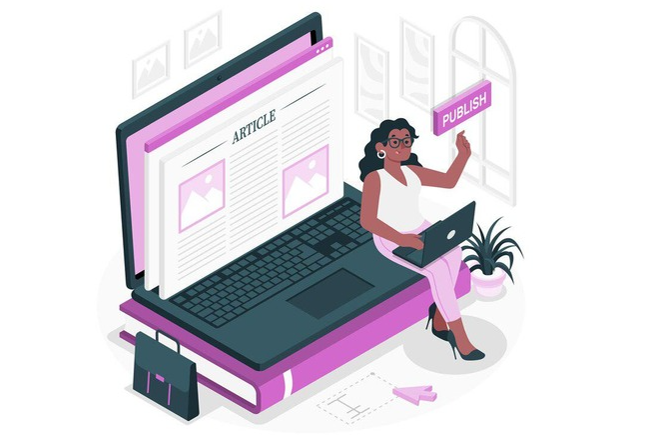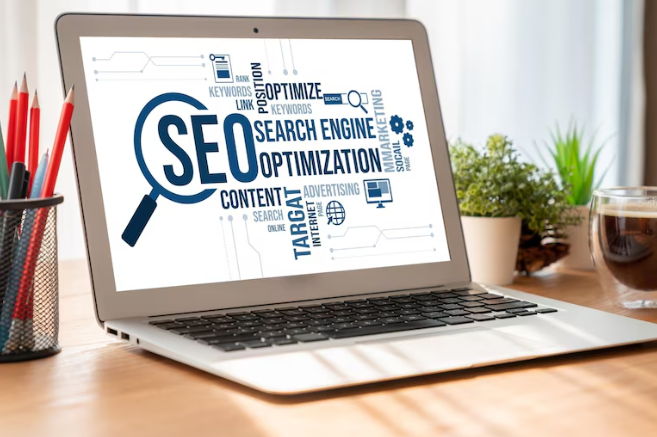

Images represent a defining aspect of strong web design, marketing campaigns, and social media; however, oversized image file sizes can reduce page load speeds, consume unnecessary bandwidth, and ultimately lower your search engine ranking. That is why an image size converter can be so helpful! In this post, we'll share how the image resizer tool is a quick and easy way to resize images. We'll also discuss some tips for sizing images more effectively using the image size reducer and include some handy tips for reducing image file size without compromising image quality.
Why a Fast Image Size Converter Matters
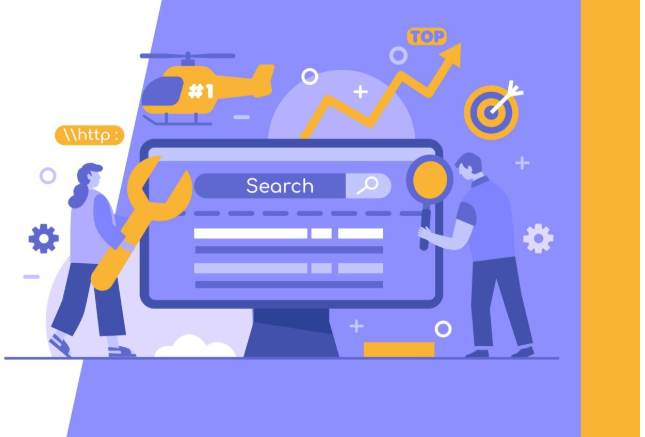
Slow-loading pages are a huge turn-off - almost 40% of users left a site that takes more than 3 seconds to load. Optimized images are the complete opposite. This tool has boost loading, a better user experience, and improved SEO. An image reducer will make this easy and allow you to:
- Resize images to correct dimensions for web layouts
- Compress images and file size to allow for quicker uploading and faster delivery
- Retain visual clarity while maintaining minimal loss of quality
An image size converter is beneficial whether you are working with hero banners, blog graphics, or product images. This will save you time and make things more efficient while maintaining the same quality each time.
Here are the Steps For How to Instantly Resize Your Image
1: Choose the Right Resize Options
Before you start resizing, think about the following:
- Dimensions in pixels: Width and height by your platform's design specifications
- Ratio: Keep the same proportions to avoid distortion
- Compression settings: Account for file size and clarity
You aim to use an image size changer that maintains the integrity of your image after compression.
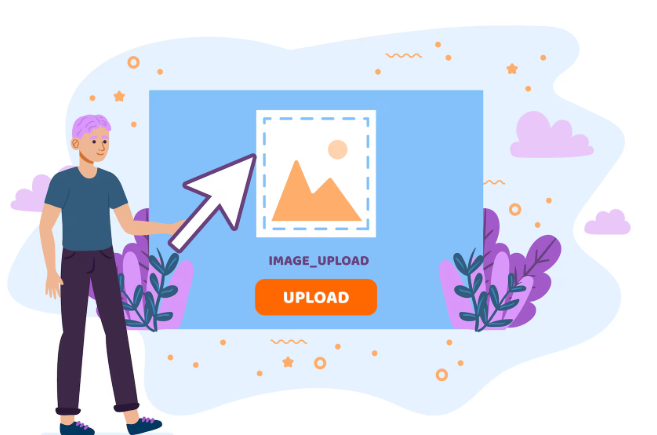
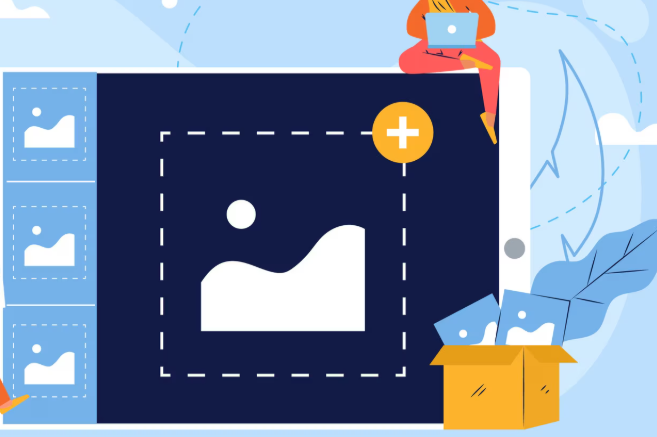
2: Upload Your Images
Our online image reducer allows seamless drag-and-drop or file selection. Ideal for resizing multiple images at once, it can batch-process them, saving ample time and maintaining consistent dimensions across your project.
3: Customize Output Settings
When you upload the image file, you will see three key options:
– Predefined presets: If you want fixed web sizes, all you have to do is pick a preset from the drop-down list of image sizes you want to work with before processing the edit.
– Custom Dimensions: If you have custom dimensions, please enter your custom widths and heights.
– Compression Levels: You have three options, low, medium, or high, where you can reduce image size while maintaining reasonable image quality.
Next, you will see "Output Format", and you will have the choice of JPEG, PNG, or WebP, depending on how you will use the images in that case.
You will also be able to see preview thumbnails of the images, allowing you to check on any image quality details before actually processing them.
4: Compress and Download
After confirming settings, initiate compression. The image size converter utilizes optimized algorithms to process images, ensuring optimal clarity and quality. When complete, download single or zipped files instantly—no installers or complex workflows.
5: Key Benefits of an Image Resizer You’ll Appreciate
1. Faster Website Testing Speed and SEO
A quick loading speed reduces bounce rates and helps you rise in the rankings, especially among mobile users.
2. More done with Less Repetition
Batch resizing keeps it from being repetitive and an ongoing task. You can change size, compress, and save everything at once.
3. Cross-Formatting
You can create consistent output formats across web, email, or social media channels without worrying about inconsistent formats.
4. Less Storage on Their Server
With a smaller file size, it uses less space on their hosting service and bandwidth. Which saves you time and money.
5. Improved Image Quality, Better Compression
Your images will look sharp, thanks to the cutting-edge compression in our image converter. You'll notice that no thought was given to smaller sizes.
Insider Tips for Better Results
- So start with a moderate resolution (e.g., 1200px for full page banners)
- Always preview reduced photos to check for artifacts
- Explore WebP, or high-quality JPEG, to maintain clarity while keeping the size smaller than before
- Be consistent with all brand visuals
- It is helpful to rename the versions to indicate their size/resolution.
Why This Image Converter Makes Life Easier
- Instant previews before downloading
- Custom presets tailored to specific project needs
- Batch- image resizer features for consistent output
- No installation—works directly in your browser
It’s an ideal tool for anyone who frequently deals with image optimization demands.
Step-by-Step: Boost Productivity
- Upload images
- Set dimensions and compression
- Preview quality
- Download resized assets
- Use across websites, emails, and platforms easily
This streamlined process introduces noticeable efficiency to your workflow—no fiddling with photo editing software required.
Pro Tips for Ultimate Image Optimization
- Enable auto-compression presets for recurring tasks
- Choose the WebP format to reduce file size further
- Resize before uploading to image-heavy platforms
- Keep the originals for archival use and deliver resized variants for live deployment.
Say Goodbye to Blurry Visuals Today
Combining awe-inspiring imagery without performance hits is the closest thing you can get to gaining a competitive advantage in an online marketplace. An innovative image size changer will change how you use digital assets. In seconds, adjust image size or resolution without compromising quality. Bloggers, designers, or marketers will help streamline end-user selection workflows, improve search engine rankings, and ensure image content and other collateral are always razor-sharp and production-ready.
Want to create clear images faster? Use SEO Serene’s free image size converter today - you'll be happy and so will your audience!